
Creating, Editing and Deleting Custom Fields
Please note: You need to have administrator permissions to manage custom fields. Please contact an administrator in your account if you need increased permissions.
Custom fields allow you to categorize projects, clients, bookings, people and resources using any criteria you choose. They work in conjunction with filters so you can quickly find the right people for the job, and run reports on specific groups of resources.
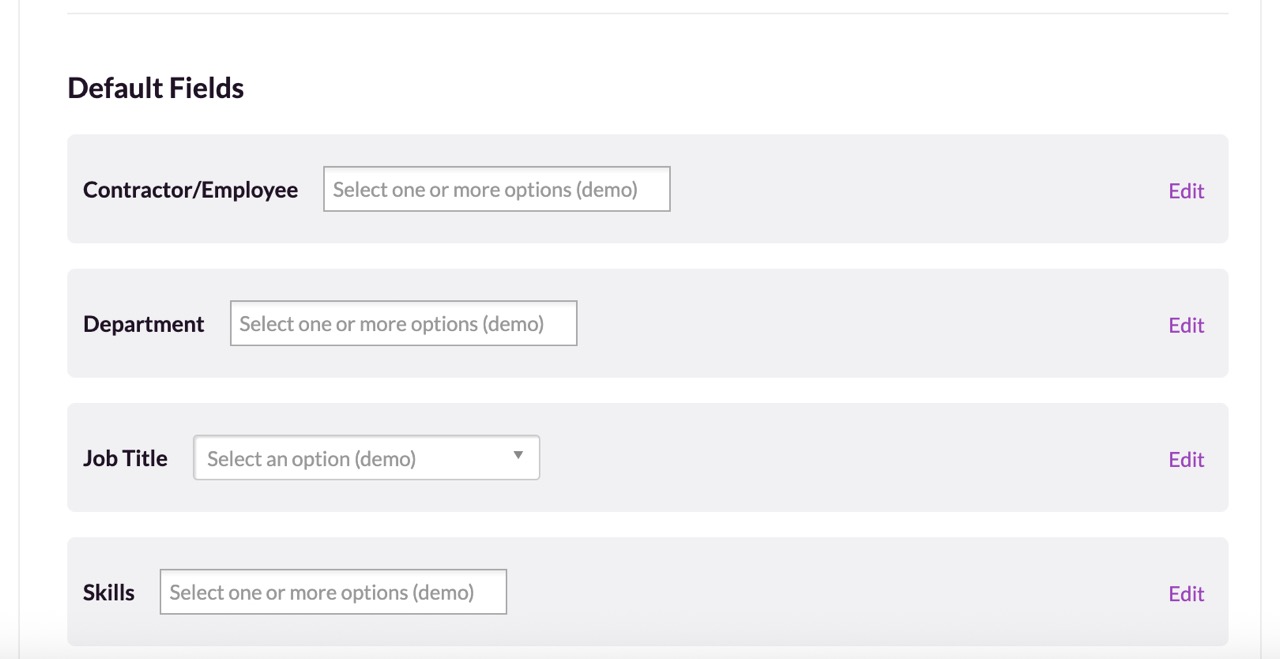
There are four default custom fields which apply to people: Contractor/Employee, Department, Job Title and Skills, and all subscribers have access to these fields.
If you subscribe to the Blackbelt or Master plan, you can create more fields that are relevant for your business, for example “Experience level,” “Location,” “Employment Status'' or “Qualifications”. Blackbelt subscribers can add up to 10 additional custom fields per account, while Master subscribers can create an unlimited number of custom fields.
Adding New Custom Fields

Click on your profile picture and then select Settings > Custom Fields > Add Custom Field.
Enter the Name of the new custom field.
Choose the Type of custom field you’d like to create. Please bear in mind, once a custom field is created, its Type cannot be changed:
Single select: this type restricts people to selecting only one option.
Multi select: choose this type if you need to select multiple options (for example, a set of skills that someone may have).
Free text: this is a free text field which, for now, is only applicable to bookings.
Choose an Icon to be displayed on the Resource/Booking form.
Enter the Options you’d like to add. For example, if your custom field is called “Location”, you might want to add options like “London”, “Berlin” or “New York”.
Specify which Resources the custom field should apply to, and/or whether the field should also apply to Bookings, Projects or Clients.
Tick the Required box if completing the field should be mandatory. Leave this box blank if it’s optional.
Click Add Custom Field to save.
Once you’ve created some custom fields, you can go ahead and add them to your people/other resources, bookings or projects and clients.
Editing and Deleting Custom Fields

Next to the relevant custom field, click Edit to make changes, or click the trash can to delete the field and all of its associated options.
When you edit or delete a custom field, the change will be reflected against all people/other resources and bookings for which the custom field is applied.
Please note: default custom fields can be edited but not deleted.
Guru tip
If you have sufficient permissions, you can create new custom field options on the fly from the New Person or New Booking forms.