Configuring Single Sign-On (SSO) using Microsoft ADFS
Please note that SSO is only available on the Master plan.
SSO/SAML enables members of an identity provider (IdP) of your choice to access Resource Guru without having to set up a separate Resource Guru ID (login). Resource Guru's SSO works with any IdP that supports SAML 2.0 including Google Workspace, Microsoft Azure, Okta, Ping Identity, Ping Federate, OneLogin, Bitium, LastPass, Centrify, Clearlogin, Auth0 and many others. Setting up SSO can be a bit tricky so we’ve provided a guide below using Microsoft ADSF as the IdPs.
If you would like to use SSO on multiple Resource Guru accounts with the same email domain, please reach out to happytohelp@resourceguruapp.com and we will be happy to help get you set up!
Configuring SSO using Microsoft ADFS
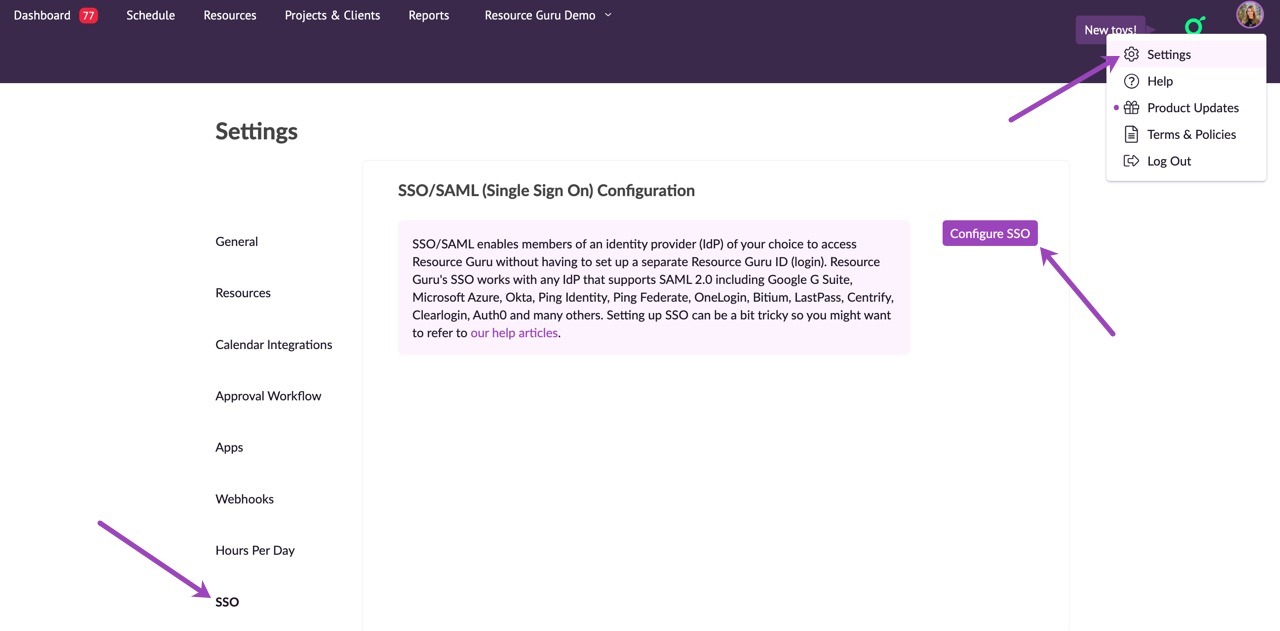
Go to Settings > SSO > Configure SSO.
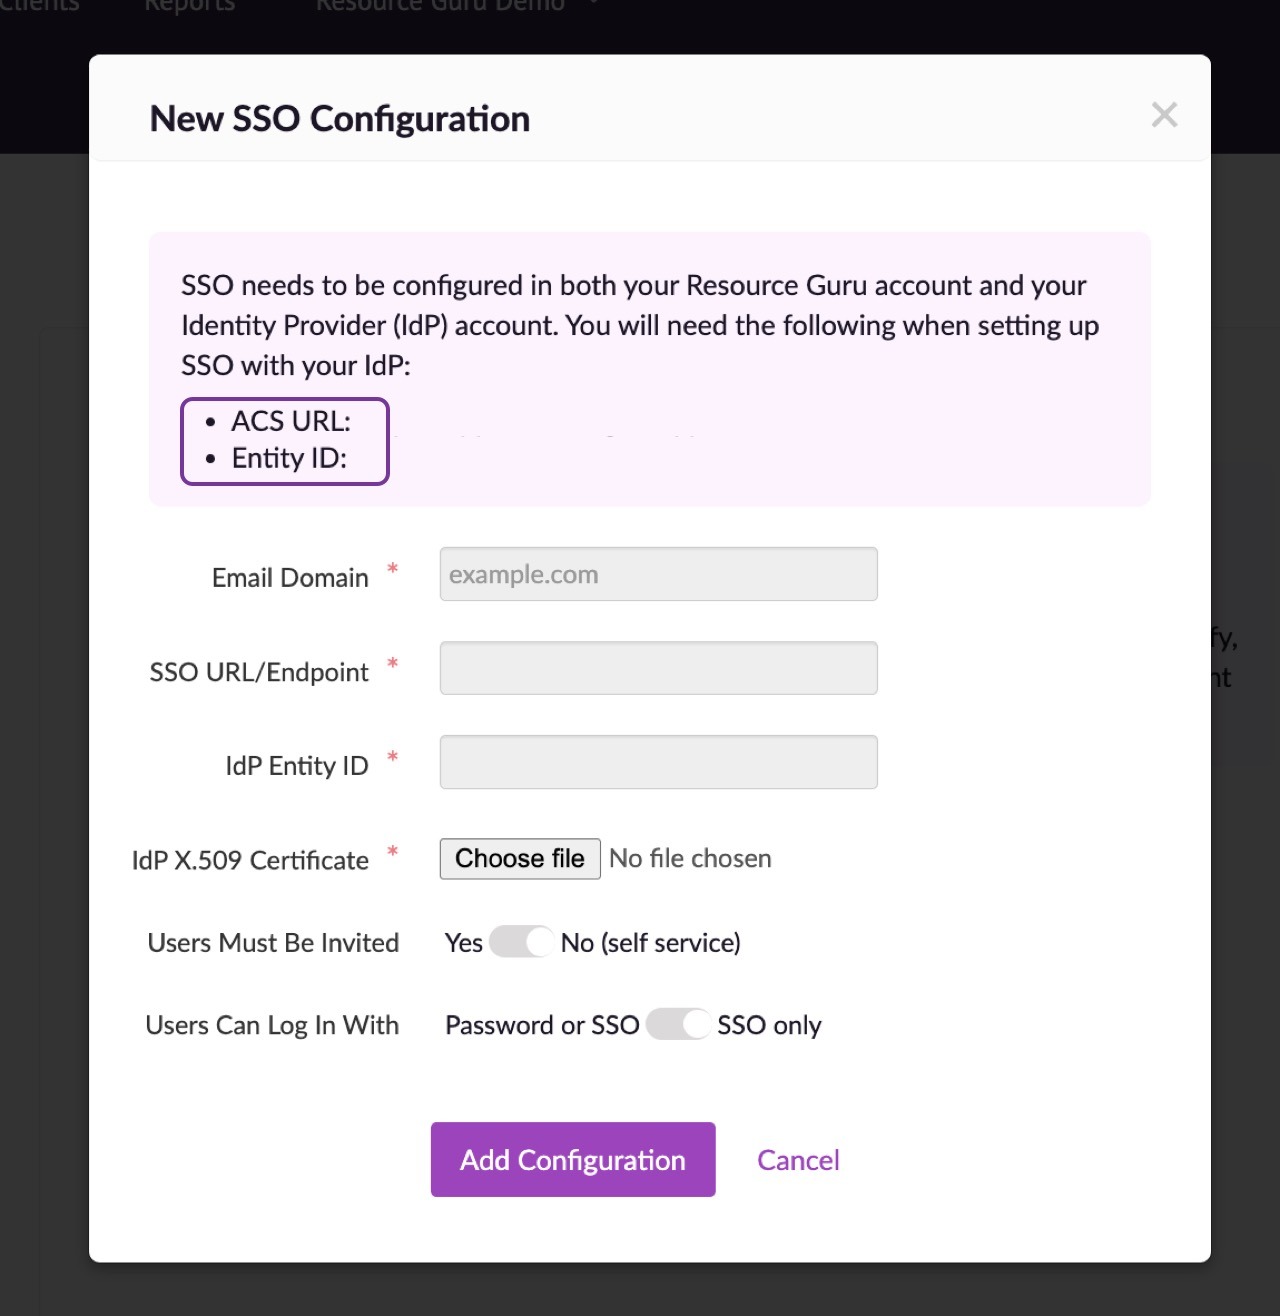
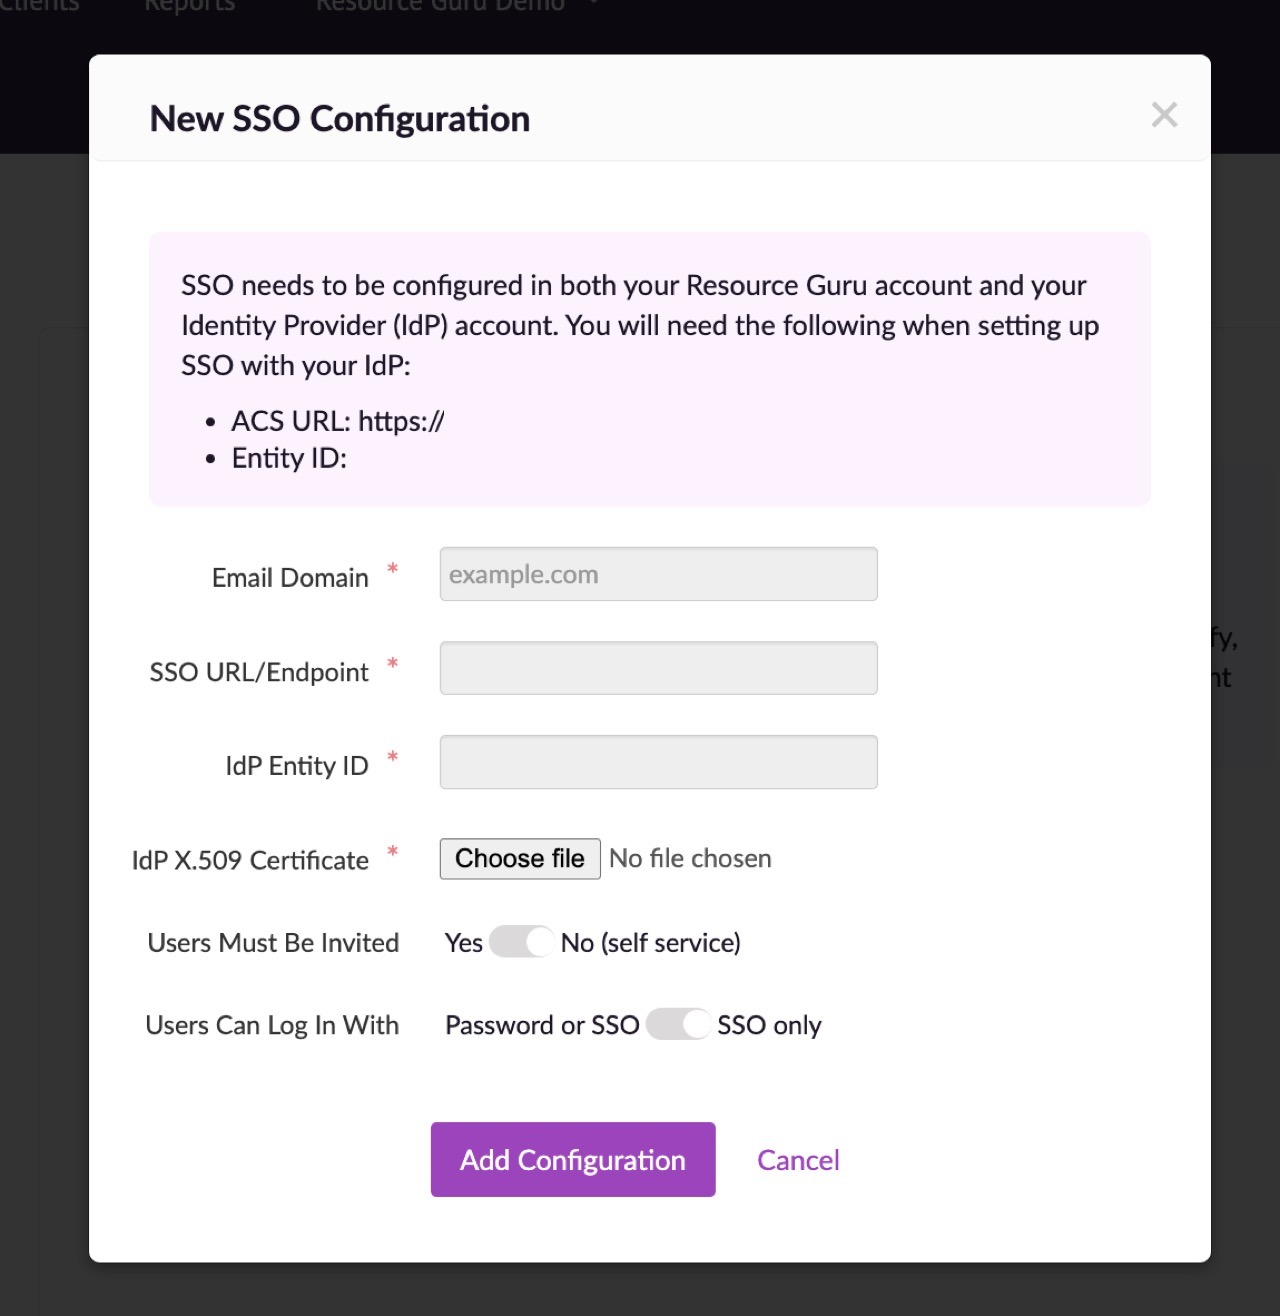
Make a note of the ACS URL and Entity ID.
On ADFS
Add relying party:
1. Check Enable support for the SAML 2.0 WebSSO protocol
Enter the ACS URL from Resource Guru into the SAML 2.0 SSO service URL field
2. Relying party trust identifier
Add the Entity ID from Resource Guru
Add claim rules:
1. Click Add Rule. Create a Send LDAP Attributes as Claims rule.
2. On the next screen, using Active Directory as your attribute store, do the following:
From the LDAP Attribute column, select E-Mail Address
From the Outgoing Claim Type, select E-Mail Address
Click on OK to save the new rule
3. Create another new rule by clicking Add Rule, this time selecting Transform an Incoming Claim as the template.
4. On the next screen:
Select E-mail Address as the Incoming Claim Type
For Outgoing Claim Type, select Name ID
For Outgoing Name ID Format, select Email
Leave the rule to the default of Pass through all claim values
Finally, click OK to create the claim rule, and then OK again to finish creating rules.
Please note that we support the SHA-1 signing algorithm. You can change the certificate signing algorithm via your Azure Active Directory Portal.
Head back over to Resource Guru and paste the SSO URL into the relevant field. You'll use your full ADFS server URL with the SAML endpoint as the SSO URL. It's normally something like https://<adfsserver>/adfs/ls
Then enter your IdP Entity ID - this is your subdomain.
To obtain your IdP X509 Certificate:
Log into the ADFS server and open the management console
Right-click Service > Certificate
Right-click the certificate and select View Certificate
Select the Details tab
Click Copy to File. The Certificate Export Wizard opens.
Select Next. Ensure the No, do not export the private key option is selected, and then click Next
Select DER encoded binary X.509 (.cer), and then click Next
Select where you want to save the file and give it a name. Click Next
Select Finish.
Upload the saved X509 certificate to Resource Guru.
If you would like anyone with a company email address (eg @mycompany.com) to be able to automatically set up a Resource Guru account then choose Self-service. Alternatively, if you only want people to be able to set up accounts if they have been invited into the account then choose Users must be invited.
If you want to prevent people from accessing your account after they have been removed from your IdP, choose SSO only. This setting provides centralised access control to your account via your IdP. Please note that account owners will still be able to log in using their Resource Guru ID (email & password) - this prevents everyone being locked out if the connection with your IdP fails for any reason.
Finally, click Add Configuration.
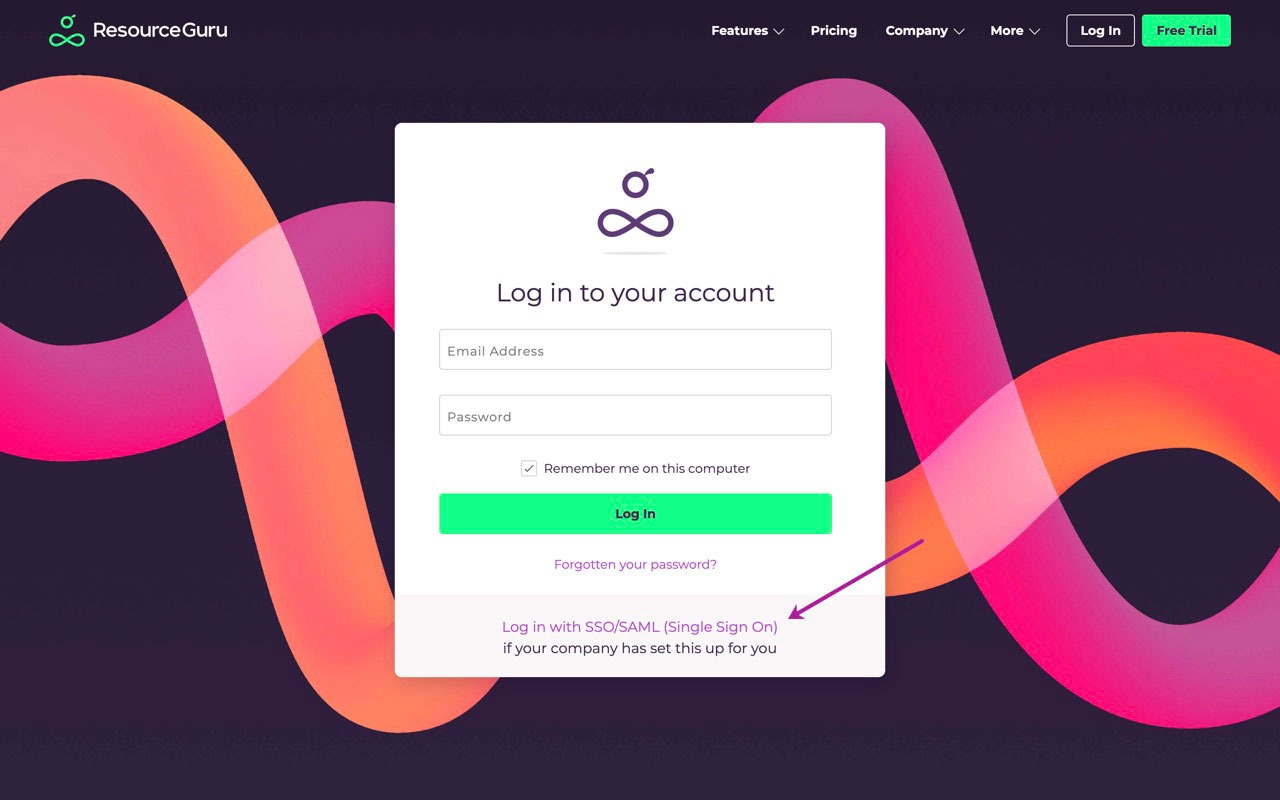
Users from your company will now be able to log into Resource Guru with their email address by using the link above on the login page.
Learn more
Logging in with SSO/SAML (Single Sign On)
Upgrading/Downgrading Your Plan
Editing Your Resource Guru Profile: Name, Email Address and Photo


